

1. How to Tell If a Stain Is Set In and Why It Matters
Knowing how to tell if a stain is set in is one of the most important decisions you can make before you do anything else. Most fabric damage doesn’t happen because a stain was “impossible.” It happens because the stain was treated as the wrong type. When you misread the situation, you choose the wrong temperature, the wrong level of friction, and the wrong products — and you often lock the stain in while weakening the fabric at the same time.
A stain becomes set when its residue bonds tightly with the fibers. That bonding usually happens through a combination of time, heat, and repetition. Time allows moisture to evaporate and residue to concentrate. Heat accelerates reactions and fixes proteins and dyes into place. Repetition compounds stress by adding more cycles of water, agitation, chemicals, and drying. Once this bonding has occurred, the stain stops behaving like a surface problem and starts behaving like part of the fabric itself.
This is why learning how to tell if a stain is set in matters more than choosing the “best” stain remover. If a stain is still fresh, the goal is to interrupt bonding and contain spread. If a stain is set, the goal shifts to controlled testing, realistic improvement, and fabric preservation. Those are opposite strategies. One rewards speed and gentle control. The other punishes urgency and rewards restraint.
Misdiagnosis is common because stains can look deceptive. A stain can be dry and still not be fully set. Another can look faint but already be permanently bonded because it went through a dryer. Visual appearance alone is not enough. You need to consider the stain’s history and the fabric’s behavior. Ask a few simple questions: Has the garment been washed? Has it been dried? Was any heat applied? Has the stain been rubbed aggressively? These details predict “set-in” status more reliably than how the stain looks.
This diagnosis also prevents emotional escalation. When people assume a stain is fresh, they expect it to disappear quickly. When it resists, they push harder — scrubbing, adding more product, increasing temperature, and repeating attempts. This is the exact pattern that causes fabric thinning, dye loss, texture roughness, and distorted areas around the stain. Even if the stain lightens, the garment often looks older and wears out faster.
There is also a practical time advantage. If you correctly identify a set-in stain early, you avoid wasting energy on methods that won’t work. Instead of repeating the same steps, you choose a safer approach, evaluate properly, and stop before damage accumulates. This saves garments, not just time.
Set-in stain decision overview
Why this table exists:
It clarifies what changes once a stain becomes set, so you don’t apply the wrong strategy.
| Stain Status | What It Usually Means | Best Mindset | Main Risk |
|---|---|---|---|
| Fresh | Weak bonding | Contain fast | Overreaction |
| Dry (uncertain) | Residue concentrated | Be cautious | Spreading |
| Set-in | Bond fixed by heat/time | Test and limit | Fabric damage |
| Unknown history | Highest uncertainty | Assume set-in | Over-treatment |
How to use this table:
If you don’t know the stain’s history, treat it as set-in. This conservative choice protects fabric and prevents irreversible mistakes.
The key takeaway is that stains do not ruin clothes on their own — misdiagnosis does. Once you can reliably tell whether a stain is set, every other decision becomes easier: water temperature, product choice, whether to scrub or blot, and when to stop. In the next section, we’ll break down the difference between fresh, dry, and set-in stains, so you can classify the situation quickly and make the safest next move.
2. The Difference Between Fresh, Dry, and Set-In Stains
Understanding how to tell if a stain is set in starts with separating three conditions that are often confused: fresh stains, dry stains, and set-in stains. These terms are not interchangeable. Each one describes a different level of bonding between the stain and the fabric, and each one demands a different response. Treating them as the same is one of the fastest ways to cause damage.
A fresh stain is still mobile. Moisture is present, bonding is weak, and the stain particles sit closer to the surface of the fibers. At this stage, the stain can often be interrupted before it settles. Gentle blotting, containment, and avoiding heat are usually enough to preserve removal options. The biggest risk with fresh stains is acting too aggressively and forcing the stain deeper or setting it with heat.
A dry stain sits in a gray zone. The moisture has evaporated, but strong bonding has not necessarily occurred. Many people assume a dry stain is already set, while others treat it as fully fresh. Both assumptions can be wrong. Dry stains are vulnerable to missteps because they look stable but can still react unpredictably when water, friction, or chemicals are introduced. This is where cautious testing matters most.
A set-in stain has crossed a structural threshold. Heat exposure, repeated washing, or long time periods have allowed stain particles to chemically or physically bond with the fibers. At this point, the stain behaves less like residue and more like part of the fabric. Removal becomes uncertain, and the focus shifts from speed to preservation. Aggressive methods rarely improve results and often create visible fabric damage.
The confusion between these categories is reinforced by appearance. A dry stain may look lighter than a set-in stain, but still be removable. A set-in stain may look faint but be permanently bonded because it went through a dryer. This is why visual cues alone are unreliable. History and reaction matter more than color or size.
Fresh vs dry vs set-in comparison table
Why this table exists:
This table makes the practical differences between stain stages visible so you can choose the right strategy.
| Stain Type | Moisture Present | Bond Strength | Safest Initial Approach |
|---|---|---|---|
| Fresh | Yes | Weak | Contain and blot |
| Dry | No | Uncertain | Test gently |
| Set-in | No | Strong | Limit and preserve |
| Unknown | Unknown | High risk | Assume set-in |
How to use this table:
If you are unsure whether a stain is dry or set-in, treat it as set-in. This conservative choice reduces the chance of irreversible damage.
The key takeaway is that timing changes everything. Fresh, dry, and set-in stains are not stages on the same strategy — they are decision points. Once you can correctly identify which one you’re dealing with, you stop guessing and start protecting the fabric instead of fighting it.
3. Visual Signs That a Stain Is Already Set
Learning how to tell if a stain is set in often begins with visual inspection, but this step must be done carefully. Many people rely too heavily on what a stain looks like, which leads to false confidence and poor decisions. Visual signs are useful, but only when they are interpreted correctly and combined with context.
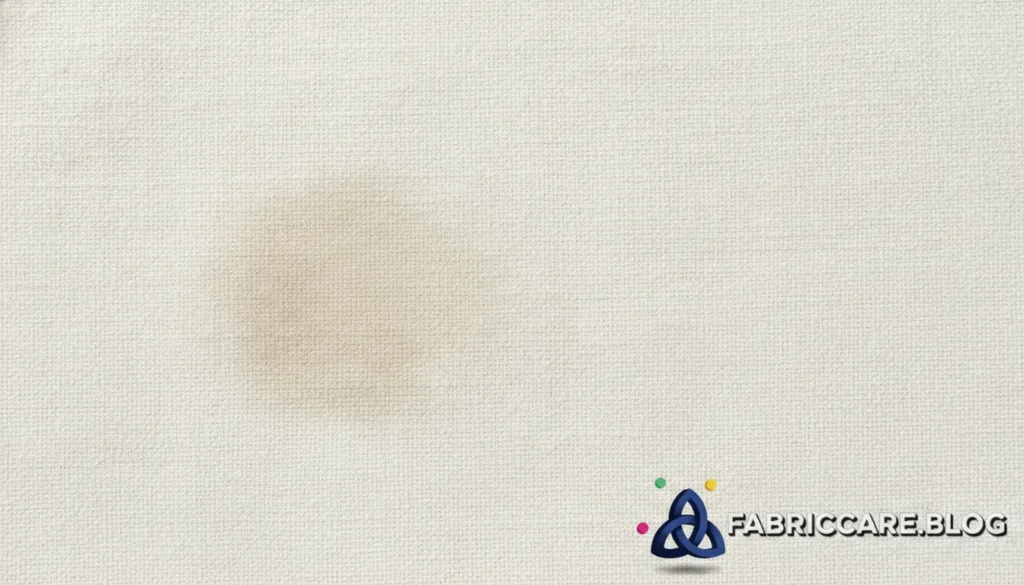
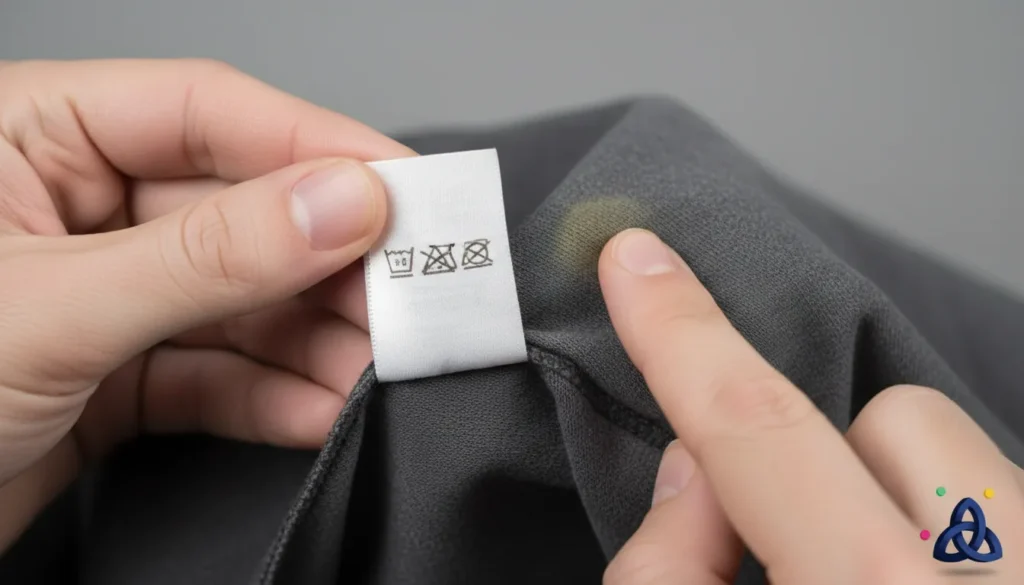
One of the clearest visual indicators of a set-in stain is color uniformity. When a stain blends evenly into the fabric and no longer has a defined edge, it often means the residue has bonded below the surface. Fresh stains usually have irregular borders or darker centers where moisture is concentrated. Set-in stains tend to look flatter and more integrated with the surrounding fibers.
Another important visual clue is haloing or shadowing. If you see a faint ring or outline around the original stain area, especially after washing, this often indicates that the stain has migrated and rebonded. This halo effect is common with dye-based stains and oils that were exposed to heat. Once halos appear, full removal becomes much less likely without fabric impact.
Texture changes are also visible warning signs. A set-in stain may coincide with fabric that looks slightly rougher, shinier, or thinner than the surrounding area. These changes suggest that the stain and previous treatments have altered the fiber surface. When the fabric itself looks different, the stain is rarely just superficial anymore.
Another visual signal is reactivation behavior. If a stain fades while wet but reappears clearly as the fabric dries, this often indicates fixed residue rather than removable soil. This cycle misleads many people into thinking progress is being made, when in reality the stain is simply being masked by moisture.
Visual diagnosis reference table
Why this table exists:
This table summarizes visual patterns that often indicate a stain is already set, helping you avoid misinterpretation.
| Visual Sign | What It Suggests | Risk Level |
|---|---|---|
| Even color blending | Deep fiber bonding | High |
| Halo or ring | Heat or migration | High |
| Texture change | Fiber alteration | Very high |
| Disappears when wet | Fixed residue | High |
| Sharp dark edges | Surface stain | Lower |
How to use this table:
If more than one high-risk visual sign is present, treat the stain as set-in and shift to preservation-focused decisions.
The key takeaway is that visual signs don’t promise certainty, but they provide early warnings. When you learn to recognize these patterns, you stop chasing stains that are already fixed and start protecting the fabric before further damage occurs.
4. Texture Changes That Signal Permanent Bonding
Understanding how to tell if a stain is set in requires paying attention not just to color, but to how the fabric feels and behaves. Texture changes are one of the most reliable signals that a stain has moved beyond the surface and that bonding — either from the stain itself or from previous treatment attempts — has already occurred.
One common texture warning sign is roughness. If the stained area feels harsher or less flexible than the surrounding fabric, fibers have likely been stressed. This stress often comes from heat, friction, or chemical overload applied while the stain was present. Once fibers lose their smoothness, the stain is rarely removable without worsening the damage.
Another signal is thinning or loss of body. When fabric around a stain feels weaker, stretches more easily, or looks slightly sheer, it indicates fiber breakdown. This usually happens after repeated scrubbing, multiple wash cycles, or strong stain removers. At this stage, continued treatment risks tearing or creating visible wear that stands out more than the stain itself.
Shine or stiffness can also indicate permanent bonding. Some fabrics develop a glossy patch or a stiff hand feel after heat exposure or chemical residue. This is common with synthetics and blends. The shine is not cleanliness — it is a change in fiber structure. Once this appears, further stain removal attempts almost always make the area more noticeable.
Texture changes often appear before a stain looks fully permanent. This is why they matter so much. Color can sometimes be reduced slightly, but texture damage does not reverse. When texture changes are present, the priority must shift from stain removal to fabric preservation.
Texture change warning table
Why this table exists:
This table helps you recognize when the fabric itself is signaling that further treatment is unsafe.
| Texture Change | What It Indicates | Safest Response |
|---|---|---|
| Rough or scratchy feel | Fiber abrasion | Stop scrubbing |
| Thinning or weakness | Structural damage | Stop treatment |
| Stiff or board-like | Chemical residue | Rinse, then stop |
| Shiny patch | Heat damage | Avoid further heat |
How to use this table:
If any of these texture changes are present, treat the stain as set-in and avoid aggressive methods. Preserving the fabric is the correct decision.
The key takeaway is that fabric speaks before it fails. When texture changes appear, the stain is no longer the main problem. Listening to these signals helps you avoid irreversible damage and confirms how to tell if a stain is set in without relying on guesswork.
5. How Water Reactivity Reveals Stain Status
One of the most practical ways to understand how to tell if a stain is set in is to observe how the stain reacts to water. Water doesn’t remove the stain at this stage — it reveals information. How a stain behaves when lightly exposed to water can tell you whether bonding is still flexible or already fixed.
A stain that is not fully set often shows some form of movement when water is applied. The edges may soften, lighten slightly, or become less defined. This does not mean the stain is removable yet, but it indicates that the residue has not completely locked into the fiber structure. In these cases, careful containment and testing may still be justified.
Set-in stains behave very differently. When water is applied, they usually do not move at all. The color remains uniform, the edges stay fixed, and the stain often disappears temporarily while wet — only to reappear unchanged as the fabric dries. This reappearance is one of the strongest indicators of permanent bonding. The stain is not dissolving; it is simply being masked by moisture.
Another important signal is spread. If water causes the stain to expand outward instead of lifting, this often means the stain contains oils or dyes that are migrating rather than releasing. Migration without lifting increases risk and usually indicates that aggressive water-based treatment will worsen the outcome.
Water temperature matters as well. Cold water is safest for diagnosis. Warm or hot water can trigger reactions that alter the stain and the fabric, corrupting the test. The goal is observation, not correction.
Water reactivity test table
Why this table exists:
This table helps you interpret what water behavior says about stain bonding.
| Water Reaction | What It Indicates | Risk Level |
|---|---|---|
| Edges soften | Bond still flexible | Moderate |
| Color lightens briefly | Surface masking | High |
| No movement | Fixed bonding | Very high |
| Spreads outward | Migration risk | High |
| Reappears when dry | Set-in stain | Very high |
How to use this table:
Apply a small amount of cold water to an inconspicuous part of the stain. Observe, then stop. Do not repeat the test.
The key takeaway is that water is a diagnostic tool, not a solution. When you learn to read how a stain reacts to water, you gain one of the clearest signals for how to tell if a stain is set in — without damaging the fabric in the process.
6. What Washing and Drying History Tells You
When deciding how to tell if a stain is set in, the most reliable information often comes from the garment’s washing and drying history. What has already happened to the stain matters more than what it looks like now. Heat and repetition change stain behavior permanently, even when visual cues are subtle.
If a garment has been washed and then dried while the stain was still present, the probability that the stain is set is extremely high. Dryers apply sustained heat and tumbling, which accelerates chemical bonding between stain residue and fibers. Once this happens, most stains stop responding to standard removal methods, and further attempts usually damage the fabric instead of improving results.
Washing alone does not automatically set a stain, but it increases risk significantly. Water, detergent, and agitation can redistribute residue, making stains appear lighter while wet. This often creates a false sense of progress. When the fabric dries, the stain reappears, sometimes more evenly bonded than before. If the wash involved warm or hot water, the risk increases further.
Multiple wash cycles amplify this effect. Each cycle adds mechanical stress, chemical exposure, and often heat. Even if the dryer was avoided initially, repeated washing can still weaken fibers and concentrate residue. By the second or third cycle, many stains cross the threshold from removable to set-in, especially on delicate or blended fabrics.
Another overlooked factor is partial drying. Air-drying near a heat source, leaving clothes in a warm dryer after a short cycle, or ironing over a damp area can all contribute enough heat to fix a stain. These actions are often forgotten, but they matter.
Wash-and-dry history reference table
Why this table exists:
This table shows how past laundry actions affect stain status, regardless of appearance.
| Laundry History | Likely Stain Status | Risk Level |
|---|---|---|
| Not washed or dried | Possibly fresh | Lower |
| Washed cold, air-dried | Uncertain | Moderate |
| Washed warm | Likely bonding | High |
| Dried once | Usually set-in | Very high |
| Multiple cycles | Fully set | Extreme |
How to use this table:
If a stain has gone through a dryer even once, treat it as set-in. Shift immediately to preservation-focused decisions.
The key takeaway is that history overrides appearance. When you know what the stain has been through, you stop guessing. Washing and drying history is one of the clearest signals for how to tell if a stain is set in and when it’s time to stop escalating treatment.
7. Fabric Type Clues That Change the Diagnosis
Learning how to tell if a stain is set in also requires understanding that fabric type changes the rules. The same stain, treated the same way, can behave very differently depending on the fibers involved. Ignoring this context leads to misdiagnosis and unnecessary damage.
Some fabrics allow more margin for error. Durable cottons and heavy linens can tolerate limited testing even after partial bonding. Others have almost no tolerance once a stain begins to set. Silk, wool, viscose, and many blends react quickly to moisture, friction, and heat. On these materials, stains often become functionally set earlier than they would on sturdier fabrics.
Fiber structure plays a major role. Natural fibers like cotton and linen have absorbent, irregular structures that can trap residue but still release it if bonding is weak. Protein fibers like wool and silk are far more reactive. Heat and agitation can permanently alter their structure, causing felting, shrinkage, or sheen even before a stain looks fully set. Synthetic fibers behave differently again: they may resist absorption, but once a stain bonds, heat can distort or melt the fiber surface, locking residue in place.
Fabric finishes and dyes also matter. Garments with coatings, special finishes, or deep dyes can show permanent changes faster than expected. In these cases, what looks like a stain may partly be dye movement or finish damage caused by earlier treatment. This makes further removal attempts risky, even if the stain itself appears mild.
Fabric-type diagnosis table
Why this table exists:
This table shows how fabric type shifts the threshold at which a stain should be treated as set-in.
| Fabric Type | Tolerance Window | Diagnostic Implication |
|---|---|---|
| Heavy cotton | Wider | Test cautiously |
| Linen | Moderate | Limit friction |
| Wool | Narrow | Assume early set-in |
| Silk | Very narrow | Preserve first |
| Synthetics | Variable | Avoid heat |
How to use this table:
If the fabric has a narrow tolerance window, treat the stain as set-in sooner. Conservative decisions protect garments that cannot recover from over-treatment.
The key takeaway is that stains don’t exist in isolation. Fabric type determines how quickly a stain becomes set and how risky further treatment will be. Reading these clues is a critical part of knowing how to tell if a stain is set in without relying on trial and error.
8. When Color Fading Is a Warning, Not Progress
One of the most misleading signals when deciding how to tell if a stain is set in is color fading. Many people interpret fading as success, assuming the stain is being removed. In reality, fading often means something very different: the fabric or dye is being damaged while the stain itself remains bonded.
True stain removal reduces residue without changing the surrounding fabric. Fading, on the other hand, usually affects the fabric first. This happens when heat, chemicals, or friction strip dye or alter fiber structure faster than they break the stain’s bond. The result looks cleaner at a glance, but the garment has already paid a price.
A common pattern is uneven lightening. The stained area becomes paler than the surrounding fabric, creating a washed-out or bleached patch. This is not progress — it is a warning sign. The stain may appear less visible because contrast is reduced, not because residue is gone. Over time, this area often attracts dirt more easily and looks worse than before.
Another red flag is fading that appears after drying, not during treatment. This usually indicates that heat finalized dye loss or chemical damage. Once this happens, further stain removal attempts rarely help. Instead, they increase the size and visibility of the damaged area.
Color changes are especially important on dark, dyed, or patterned fabrics. These materials show damage faster and recover less. On these fabrics, fading often occurs before the stain ever fully lifts, making continued treatment a losing trade.
Color fading warning table
Why this table exists:
This table helps you distinguish between real progress and early fabric damage.
| Color Change | What It Indicates | Correct Response |
|---|---|---|
| Even stain lightening | Possible removal | Proceed cautiously |
| Patchy fading | Dye loss | Stop treatment |
| Halo around stain | Migration | Do not escalate |
| Lighter area after drying | Heat damage | Preserve fabric |
| Dull overall tone | Chemical residue | Rinse and stop |
How to use this table:
If the fabric changes color before the stain disappears, treat the stain as set-in and stop aggressive methods immediately.
The key takeaway is that fading is not neutral. When color changes appear, the fabric is telling you that limits have been reached. Recognizing this signal is essential for knowing how to tell if a stain is set in and when further effort will only cause damage.
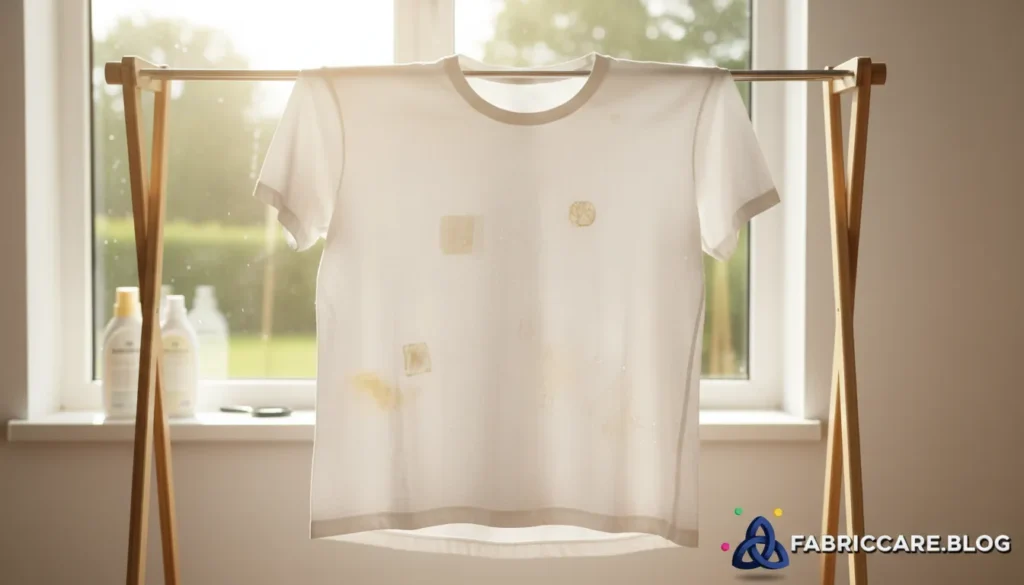
9. Simple At-Home Tests to Confirm a Set-In Stain
If you’re still unsure how to tell if a stain is set in, a few simple at-home tests can help confirm your diagnosis without causing additional damage. These tests are not designed to remove the stain. Their purpose is to reveal how firmly the residue is bonded so you can decide whether to proceed or stop.
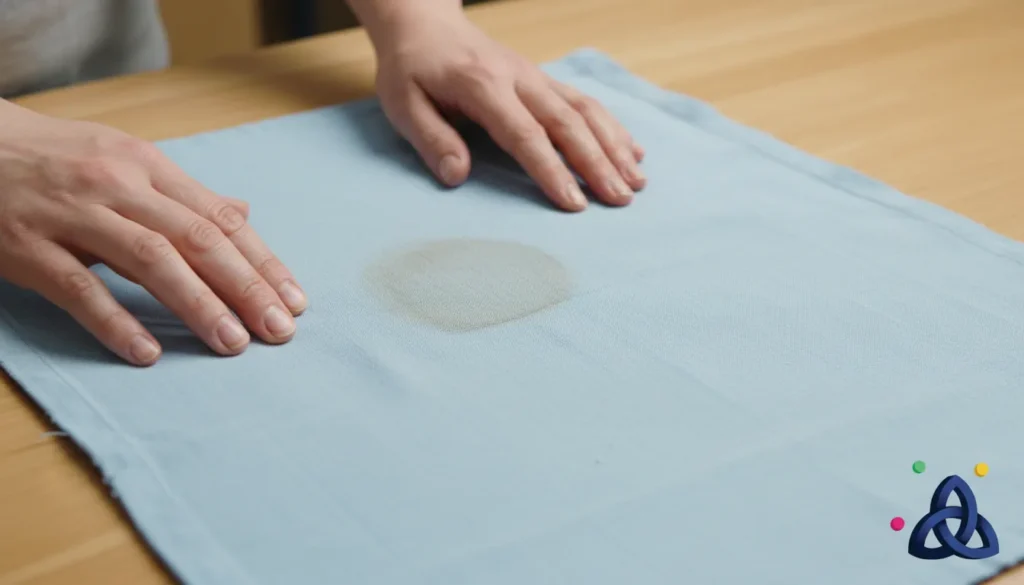
The first test is a controlled blot test. Dampen a clean white cloth with cold water and gently press it against the stained area for a few seconds. Do not rub. If color transfers to the cloth, the stain may still be mobile. If nothing transfers and the stain remains unchanged, bonding is likely strong. This test should be done once only, as repetition adds unnecessary moisture and stress.
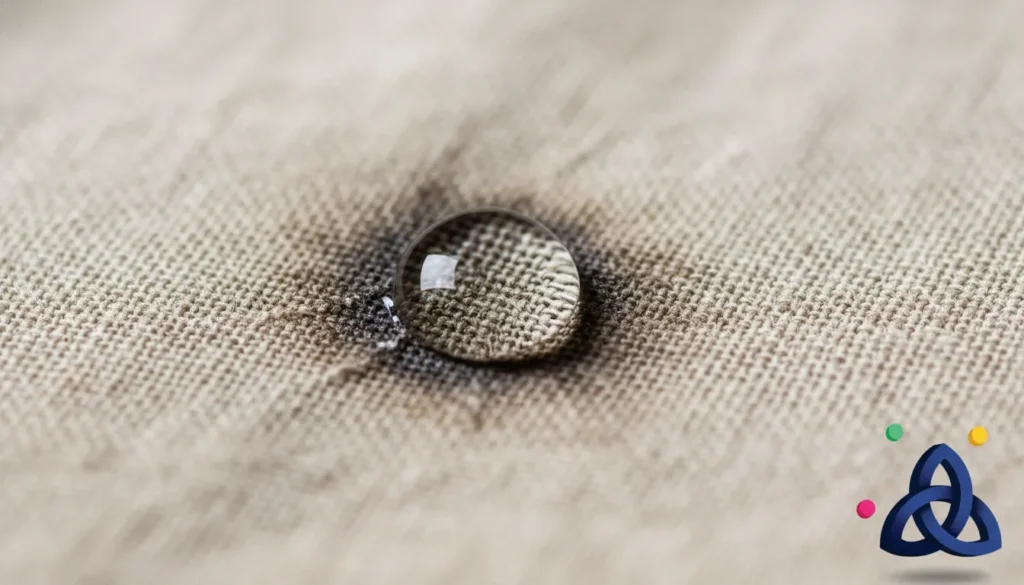
Another useful method is the edge reaction test. Apply a single drop of cold water to the outer edge of the stain and observe what happens over the next minute. A stain that softens or slightly blurs at the edge may not be fully set. If the edge remains sharp and unchanged, this usually indicates fixed bonding. Movement without lifting, especially outward spreading, is a warning sign to stop.
A third option is the drying behavior test. Lightly dampen a small portion of the stain, then allow it to air-dry completely. If the stain disappears while wet but returns to the same intensity once dry, this strongly suggests a set-in stain. The moisture is masking the residue, not releasing it.
Finally, consider the history confirmation test. Ask whether the garment has gone through a dryer, been ironed, or exposed to heat while stained. If the answer is yes, no further physical testing is needed. Heat exposure alone is sufficient evidence that the stain should be treated as set-in.
At-home confirmation test table
Why this table exists:
This table summarizes low-risk tests that help confirm stain status without escalating damage.
| Test | What You Observe | What It Indicates |
|---|---|---|
| Blot transfer | Color lifts | Not fully set |
| Edge reaction | Softening | Partial bonding |
| No change | Fixed edge | Set-in |
| Wet-then-dry | Reappears | Set-in |
| Heat history | Prior exposure | Set-in |
How to use this table:
Perform only one test. If results point to a set-in stain, stop testing and shift to preservation-focused decisions.
The key takeaway is that confirmation does not require force. Simple observation, done once and interpreted correctly, gives you reliable answers about how to tell if a stain is set in — and protects the fabric from unnecessary risk.
10. Mistakes That Make You Misjudge Stain Status
Even when people try to be careful, how to tell if a stain is set in is often misjudged because of a few predictable mistakes. These errors don’t come from lack of effort — they come from relying on the wrong signals and skipping key context. Recognizing these mistakes prevents false confidence and unnecessary damage.
One common mistake is trusting appearance over history. If a stain looks light, many people assume it is still fresh or removable. In reality, a faint stain that has been washed and dried is far more likely to be set than a darker stain that has never seen heat. Appearance changes with moisture and lighting, but bonding history does not.
Another frequent error is mistaking wet masking for progress. When fabric is wet, stains often fade temporarily. This visual change convinces people that removal is working, so they escalate treatment. Once the fabric dries, the stain returns unchanged. By then, additional stress has already been applied. This cycle is one of the most common reasons stains become permanent.
People also misjudge stain status by testing too aggressively. Scrubbing, soaking, or applying products “just to see what happens” changes the stain’s behavior and damages the fabric at the same time. Once this happens, you lose the ability to observe the stain’s natural response, making accurate diagnosis impossible.
Another mistake is ignoring fabric-specific limits. On delicate fabrics, stains become functionally set much earlier. Assuming you have more time because the stain is small or light leads to over-treatment. The fabric fails before the stain lifts.
Misjudgment trigger table
Why this table exists:
This table highlights the behaviors that most often lead to incorrect diagnosis.
| Mistake | False Assumption | Real Consequence |
|---|---|---|
| Judging by color | Lighter means safer | Missed set-in |
| Trusting wet look | Fading equals progress | Escalation |
| Aggressive testing | More info gained | Fabric damage |
| Ignoring history | Past doesn’t matter | Wrong strategy |
| Ignoring fabric | All fabrics equal | Early failure |
How to use this table:
If any of these mistakes are present, reset your approach and assume the stain is set-in until proven otherwise.
The key takeaway is that misjudging stain status is usually self-created. By avoiding these diagnostic traps, you make clearer decisions and protect fabric before damage becomes irreversible.
11. When to Stop Testing and Switch to Preservation
Knowing how to tell if a stain is set in also means knowing when to stop. Continuing to test a stain after clear warning signs appear is one of the fastest ways to turn a manageable situation into permanent fabric damage. Stopping is not failure — it is a strategic decision to protect what remains.
The moment testing stops being informative, it becomes destructive. If a stain has shown no movement after a careful diagnostic step, repeating the same test adds moisture, friction, and stress without revealing anything new. Each additional attempt weakens fibers and increases the risk of texture change, color loss, or distortion around the stain.
Clear signals tell you it’s time to switch from testing to preservation. If the stain reappears unchanged after drying, if texture changes are visible or detectable by touch, or if the garment has already been exposed to heat, further testing offers no upside. At this stage, the fabric has communicated its limits.
Another important stop signal is fabric value versus risk. On delicate, structured, or sentimental garments, even a small chance of additional damage outweighs the benefit of marginal stain improvement. Preservation keeps the garment wearable and visually acceptable instead of pushing toward failure.
Preservation does not mean doing nothing. It means stabilizing the fabric, avoiding heat, minimizing friction, and adjusting future care. Sometimes this includes accepting a faint mark in exchange for long-term wearability. This trade-off is often the smarter choice.
Stop-or-preserve decision table
Why this table exists:
This table replaces emotion with criteria when deciding whether to continue.
| Signal | What It Means | Correct Action |
|---|---|---|
| No change after test | Bond fixed | Stop testing |
| Texture change | Fabric stressed | Preserve |
| Heat history | High fixation | Preserve |
| Delicate fabric | Low tolerance | Preserve |
| Repeated attempts | Rising damage | Stop immediately |
How to use this table:
If two or more stop signals apply, preservation is the correct decision.
The key takeaway is that restraint protects value. When you recognize when to stop testing, you prevent small stains from causing irreversible fabric damage — a critical part of mastering how to tell if a stain is set in.

12. How Correct Diagnosis Prevents Fabric Damage
Understanding how to tell if a stain is set in is not just about stain removal — it is about damage prevention. Correct diagnosis changes every decision that follows. When you accurately identify a stain’s status, you stop using force where restraint is needed and stop escalating where preservation is the smarter path.
Most fabric damage happens after the stain’s fate is already decided. The stain is set, but the person treating it believes there is still a window for removal. This false assumption leads to scrubbing, heat, repeated washing, and product layering. None of these actions break the stain’s bond. All of them weaken the fabric. Diagnosis is what interrupts this destructive loop.
Correct diagnosis also reduces unnecessary intervention. When you know a stain is set, you stop experimenting. You don’t “try one more thing.” You don’t test multiple products. You don’t keep wetting and drying the same area. Each avoided action is damage prevented. Over the lifespan of a garment, this restraint makes a visible difference in texture, color retention, and structural integrity.
Another benefit of correct diagnosis is decision confidence. Instead of guessing, you act with clarity. You know when to contain, when to test, and when to stop. This removes emotional escalation from stain care and replaces it with rules. Clothes last longer when decisions are consistent, not reactive.
Correct diagnosis also protects future care. Once a stain is identified as set-in, the garment can be washed and dried more safely by adjusting expectations and handling. Gentle cycles, lower heat, and mindful folding preserve the fabric instead of repeatedly attacking a problem that cannot be solved.
Diagnosis impact table
Why this table exists:
This table shows how correct diagnosis directly prevents common forms of fabric damage.
| Diagnosis Outcome | Behavior Change | Damage Prevented |
|---|---|---|
| Stain identified as set-in | Stops escalation | Fiber thinning |
| Set-in confirmed early | Avoids heat | Permanent fixation |
| Clear stop point | Limits repetition | Texture loss |
| Fabric limits respected | Gentle care | Premature wear |
| Expectations adjusted | Calm decisions | Garment failure |
How to use this table:
Use diagnosis as a filter. If an action does not align with the stain’s status, do not take it.
The key takeaway is that stains don’t usually destroy clothes — misguided persistence does. Learning how to tell if a stain is set in gives you the power to protect fabric intentionally, extend garment life, and avoid damage that no stain remover can reverse.